
Azure Dns Zone and Namecheap
Posted on: 2016-07-18
This is a confusing topic. It's probably simpler to have your domain bought from Azure directly but most website may be bought before, thus needs to go the longer way. Azure documentation is not bad, there some pages interesting about how to configure a custom domain name with Azure App Service and how to create a DNS zone in Azure portal, but that is not very clear. I believe I am not the only one who had to stop and think since they are even providing some way to do it with the popular domain provider GoDaddy. Still, there is a lot of way to configure and if you are more a developer than a network guru, it may be confusing.
Before anything, let's demystify some concepts. To have any website link to a domain you need 3 parts. The domain, a nameserver and your server that host your files. If you have a background of using VPS under Linux with CPanel, the domain and nameserver part is done when you setup the initial VPS, thus transparent for you. That was the confusing part for me. Because it was done for me, any other domain that I wanted was pretty straight forward : go in Namecheap, set the nameserver to the one provided by the VPS merchant, go in CPanel to set the domain name to the VPS directory, that's it. So what are those three parts?

Domain : This is a name you buy like "facebook.com" or "google.com". This one can be configured in many ways. It can be just a redirection to an existing website, or it can be link a Nameserver .
Nameservers : fundamental part of the Domain Name System (DNS). The nameserver is the one in charge of mapping the domain to an IP of a server.
Server : This will be your Azure App Service (website).

The first step is to setup the domain to the nameserver. You have multiple options. You can use Namecheap to handle it or to user Azure. Namecheap have a BasicDNS, a WebHosting DNS and a Custom DNS. Normally, if you are adding a domain to an existing VPS (not from NameCheap), you select "Custom DNS" and set the nameserver to the one provided by the VPS merchant during the setup of your account. For azure, it's the same thing. In NameCheap, go in the "Domain List", click "Manage" next to the domain you want to modify. Under the first tab, named "Domain" change the Custom DNS name for Azure ones.
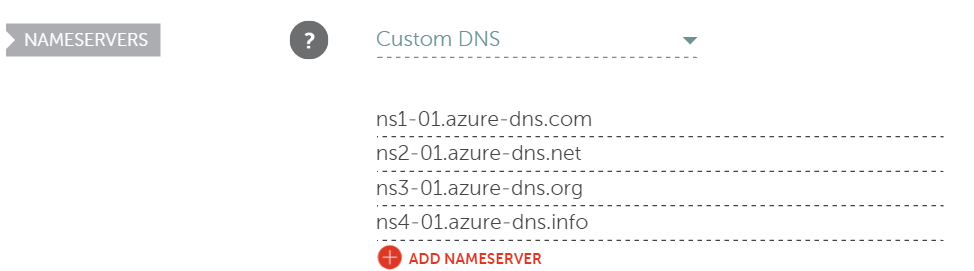
The advanced DNS, should remain with the value Standard Nameserver.

The values you see are from Azure DNS zone. This is one way to do it. You can use a custom nameserver directly at Namecheap, but at this moment, is more expensive than using Azure.
So, we need to create inside the Azure Portal a DNS Zone. This is at this moment in preview, so expect some bugs on the UI. Click "New" and search for "DNS Zone". You will see
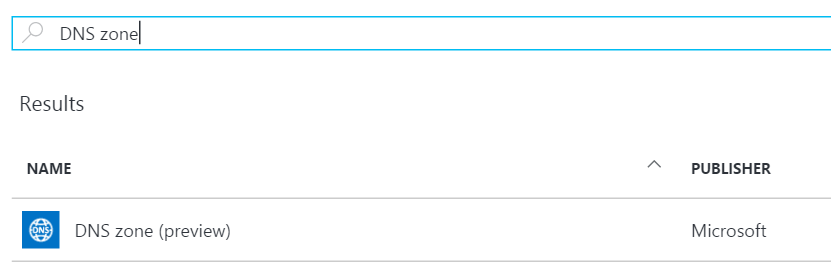
You will see two entries with "@". This is fine and normal. You will need to add few more. First, you need to add 3 entries (maybe less but ... ) to verify that you are the owner of the nameserver. You need to create 3 CNAME type.
- "awverify" to awverify.XXXXX.azurewebsites.net
- "wwww" to XXXXX.azurewebsites.net
- "awverify.www" to awverify.XXXXX.azurewebsites.net
Replace the XXXXX by your website on Azure. This is required because the next step is to go to your website and attach the domain. This step will verify the domain that you will enter by doing a call. Since you configured the domain to point to the nameserver, on Azure, it will try to do a awverify/wwww call. Since you are the owner, and have configured these new entries, the server will return that everything is okay. The forth entry that need to be setup is the XXXXX.com to the website. This is done by add a "@" entry to the website IP which is available on the website blade, under the blade that you add your domain. So, let's go on App Service Blade, select your website, in the settings' blade select "Custom domains and SSL". This is located under the Routing category.
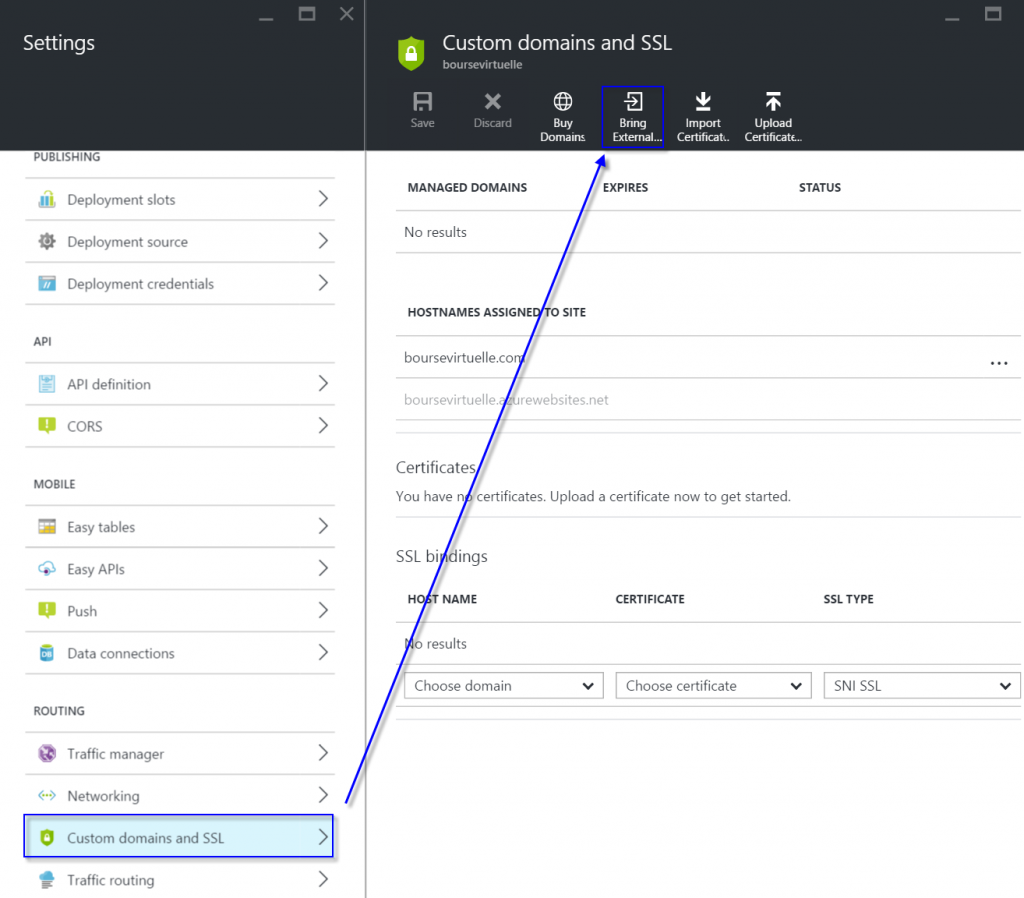
This last blade will open and let you type your domain. You should type XXXX.com for example (no www. or any subdomain). If everything is configured correctly between Namecheap and Azure DNS zone, you won't get any error message. However, allow some time. For me, it took about 45 minutes once I configured the Dns on Namecheap to change to Azure DNS. Once it's added, you can take the IP address on that blade and setup the "A record" which is the forth "@".