
Azure WebJobs using CronJobs
Posted on:
Windows Azure lets you have background running jobs that are hosted with your website. If you want those jobs to be run in a specific time, you need to schedule them. This is where it can become confusing. Do you need or not to use the Azure Scheduler service? I firstly though that I needed the scheduler service to finally realize that it was not required. I also scheduled everything from Visual Studio who produced a scheduled file webjob-publish-settings.json but got issue with recurring schedule or more complexe scenario like running a job only during the week every 10 minutes. That said, I used for years Cron jobs on Linux and was very happy. Azure lets you configure with Cron jobs too.
First of all, you need to still have the webjob-publish-settings.json. This can be generated by Visual Studio for you. But before anything, be sure that your webjobs has the reference to the Microsoft.Web.WebJobs.Publish. Once you have that reference, be sure that inside the .csproj you have the target to the reference. Here is what you should see.
<Import Project="..\\..\\..\\packages\\Microsoft.Web.WebJobs.Publish.1.0.10\\tools\\webjobs.targets" Condition="Exists('..\\..\\..\\packages\\Microsoft.Web.WebJobs.Publish.1.0.10\\tools\\webjobs.targets')" />
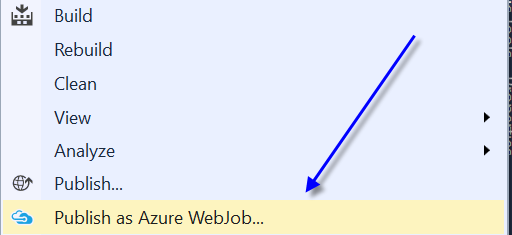
By right clicking your console application, you need to choose Publish as Azure Webjobs. This will let you create a schedule.
{ "$schema": "http://schemastore.org/schemas/json/webjob-publish-settings.json", "webJobName": "YourJobNameHere", "startTime": null, "endTime": null, "jobRecurrenceFrequency": null, "interval": null, "runMode": "OnDemand" }
The mode is on demand because we will run it by Cron job. This need to manually create a new file at the root of your console application named "settings.job". You also need to go in the file's property and select that this file will be copied if newer. This is required because when you publish, the system compiles the project and publish the bin folder. You need to have the settings.job file in the bin to be published too. That file will be read by Azure later.
The settings.job file is a JSON format with a single property named "schedule" which have a Cron job syntax. It has 6 fields which is seconds, minutes, hours, days, month, day of week.
{ "schedule": "0 */10 * * * 1-5" }
Once published, you will see your job under the website.
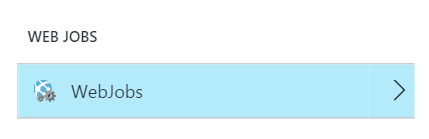
From there, it is possible to see the job running in the portal.azure.com and see any diagnostic output, etc. One last detail, your website must be running on always on.

This is required to be able to have your jobs ran. Azure Scheduler is there to be able to do more advanced scenario like calling endpoints outside the scope of your web application. For more scenario, using Cronjob and having all the scheduling setup in your solution which can be on your code repository.