
How to move a part of your .Net code as open source
Posted on: 2016-06-15
During the process of building your .Net application you may realize that there is a part of it that can be reusable. If you have the authorization from the company you are working for or if it's simply a private side project you can extract a part of your software and make it open source. One advantage to make it open source is to get other people use it, and find potential issues or improvement. You may also receive contributions from external. Finally, it is a good way to build a portfolio by showing to the world a piece of your work. This article describe steps of how to move a part of a C# code from a private repository in VSTS (Visual Studio Team Services) into GitHub. During the process, we will show how to extract, create a new project, create a nuget package, distribute your package and how to have code compiled and tested on every time a commit is pushed to the public repository.
Isolation
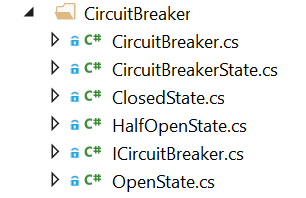
Isolating your code withing your actual code is the first step. You must be able to extract the code you think can be reusable in a unique namespace within your actual project. A good idea is to have a folder where you move all your files and setup a unique namespace. This will probably make your actual code not working because of some missing references, but it should not be a big deal to add using at the top of each file that were using the logic. In this article, I will extract code about Circuit Breaker.
Creating a New Project
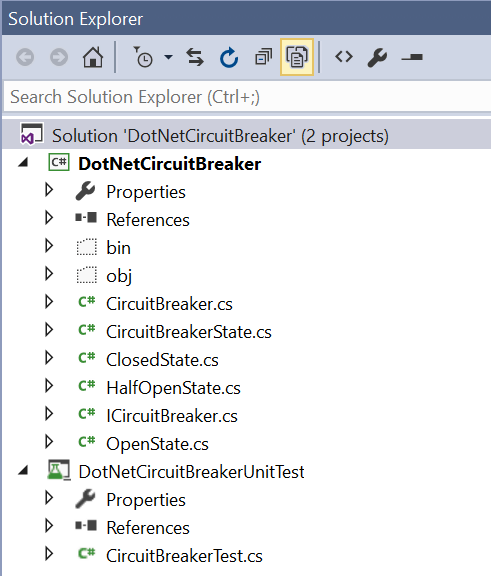
The next step is to take the isolated code and to copy the files in a new solution. First, create a new solution with Visual Studio. Create 2 projects : one for your code, one for your unit test. Copy the files that you have isolated into the code project. Do the same with the actual unit test you have.
Migrating Visual Studio Tests Tool to an Alternative
Some modifications may be required for unit test if you are using Microsoft.VisualStudio.TestTools.UnitTesting. Most open source continuous integration doesn't run Visual Studio to build and run your test. Whence, you need to use something that can be ran over the console. This doesn't mean that you will not be able to run unit tests with Visual Studio, but means that you cannot use the Microsoft Unit Testing Framework. Multiple alternatives to Microsoft Visual Studio Unit Test exist like nUnit and xUnit. For the example, I will convert all unit tests to xUnit.
The first step is to remove the reference to Microsoft.VisualStudio.TestTools.UnitTesting. This got added when adding a new unit test project. Open the project, under references, select the DLL and hit delete. After, we need to install xUnit Nuget packages.
xunit.1.9.2 xunit.runner.visualstudio.2.1.0 xunit.runner.console.2.1.0
One is the main xUnit library, the other one allow to run the test from Visual Studio and from a console. Visual Studio Nuget package allows to debug which is very interesting. The console is required to be able to run, later, the test automatically when you push your code into the public repository. The third step is to clean up the test files. Remove all using that reference to the Visual Studio Testing framework (using Microsoft.VisualStudio.TestTools.UnitTesting). The next clean up is to remove the attribute [TestClass]. xUnit doesn't need to have an attribute on top of the class. Finally, you need to change [TestMethod] attribute to [Fact]. You will need to add xUnit using (using Xunit) at the top of the file.
If you have [TestCategory] attribute you will need to use [Trait("Category", "CI")]. If you use [ExpectedException] to validate exception, than you will need to remove it to use a new assertion which is better because it's more specific. The following code has the old attributes commented and the new attribute and new assertion.
//[TestMethod] [Fact] //[ExpectedException(typeof(ArgumentOutOfRangeException))] public void GivenCircuitBreaker_WhenConstructorWithInvalidThreshold_ThenThrowException() { Xunit.Assert.Throws<ArgumentOutOfRangeException>(() => new DotNetCircuitBreaker.CircuitBreaker(0, TimeSpan.FromMinutes(5))); }
Assertions syntax is different too. For example, asserting an equality won't be Assert.AreEqual(x,y) but Assert.Equal(x,y). You can find the whole list of assertion in the official xUnit documentation.
Generate Nuget Package
This step is potentially optional. However, having a new Nuget package generated every new version of your assembly. The first step is to generate a nuspec from your project. Use the Nuget.exe in the project. This will generate a file with some place older that will be replaced from your assembly. You should open this file to add some more detailed information like what new in the specific version, dependencies on other packages etc. Here is how look a nuspec file.
<?xml version="1.0"?> <package > <metadata> <id>$id$</id> <version>$version$</version> <title>$title$</title> <authors>$author$</authors> <owners>$author$</owners> <licenseUrl>http://LICENSE_URL_HERE_OR_DELETE_THIS_LINE</licenseUrl> <projectUrl>http://PROJECT_URL_HERE_OR_DELETE_THIS_LINE</projectUrl> <iconUrl>http://ICON_URL_HERE_OR_DELETE_THIS_LINE</iconUrl> <requireLicenseAcceptance>false</requireLicenseAcceptance> <description>$description$</description> <releaseNotes>Summary of changes made in this release of the package.</releaseNotes> <copyright>Copyright 2016</copyright> <tags>Tag1 Tag2</tags> </metadata> </package>
From that basic generated file, it's important to add at least the files you want to add into the nuget package. Here is how it looks at the for this example.
<?xml version="1.0"?> <package > <metadata> <id>$id$</id> <version>$version$</version> <title>$title$</title> <authors>$author$</authors> <owners>$author$</owners> <projectUrl>https://github.com/MrDesjardins/DotNetCircuitBreaker</projectUrl> <requireLicenseAcceptance>false</requireLicenseAcceptance> <description>$description$</description> <releaseNotes>Initial release</releaseNotes> <copyright>Copyright 2016</copyright> <tags>circuit breaker</tags> </metadata> <files> <file src="bin\\Release\\DotNetCircuitBreaker.dll" target="lib" /> <file src="bin\\Release\\DotNetCircuitBreaker.pdb" target="lib" /> </files> </package>
Two important details. First, the project url is set to GitHub, where we will push the code in the next step. This is normal at this point that you might not know the complete URL but usually it's your GitHub user name followed by the name of your project. Second is the files element that contain the release library and the pbd. The DLL is the actual code that will be used by the consumer of your package and the PDB is the debugging file that Visual Studio can use.
Once you have built you solution once (in release mode) you can try to generate the nuget package manually :
nuget pack DotNetCircuitBreaker.csproj -Prop Configuration=Release
It's important to set the configuration, otherwise you may have Nuget getting you that error : "authors is required" or "description is required". In all case, we do not want to generate the package manually in later I will show you how to generate and publish it automatically on the web.
For the first publish of your Nuget package, let's use the manually created package to upload it. In few, the upload will be done by each publish with GitHub so you will not have to do it manually. Create a Nuget.org account, in your profile click Upload a package.
Publish your Source Code
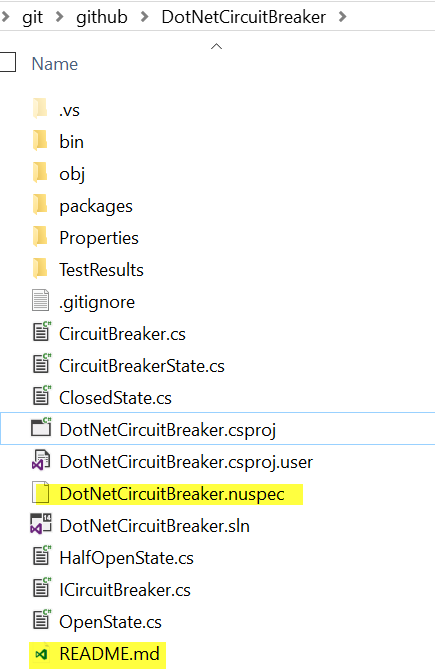
We are almost ready to publish our code on GitHub -- a public repository. GitHub is widely known and used by several huge company, Microsoft included. It is a good place to publish your source code because it has a huge volume of users, it's easy to use and a lot of developer already have an account which let them participate to your project easily. Before setuping GitHub, we must create a file that describe the project which will be used as the main page when people come in you GitHub project. The second one is a ignore file that will discard binaries and other development files from being published. You can find a template to use on GitHub. Simply copy it and save it at the root of your project. The read me file is a markdown file. It must named readme.md. The files structure should look like this :
Next step is to create your project on GitHub.
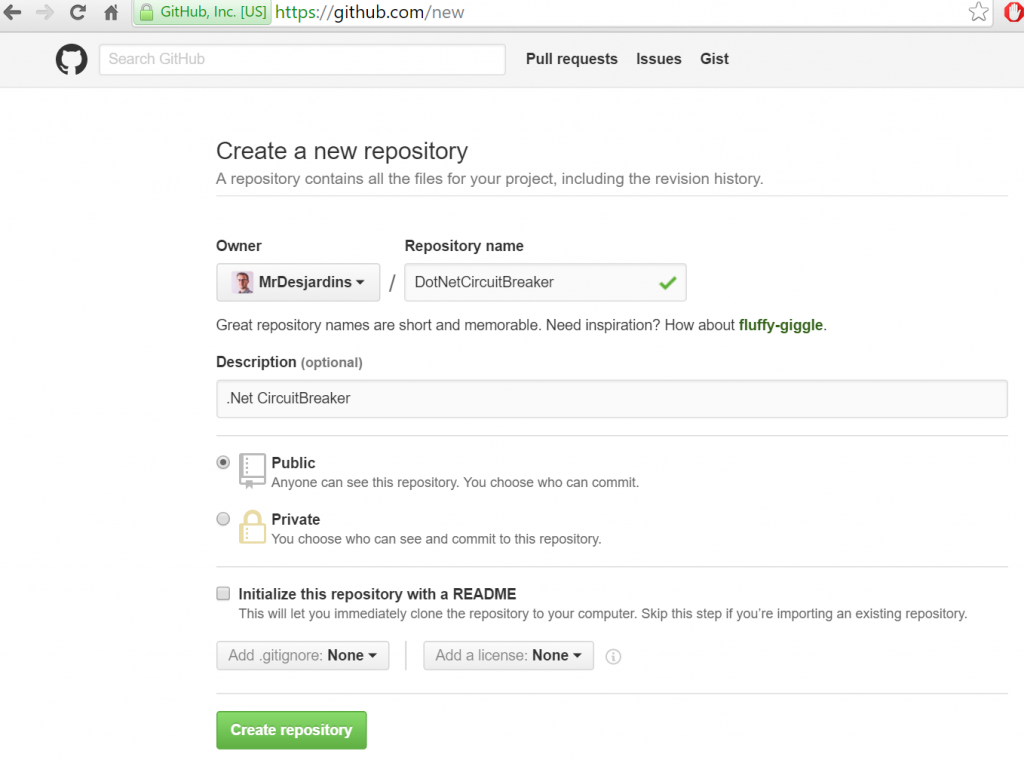
This is very fast and once it's created you can go in the root of your project with a console and use git :
git init git remote add origin https://github.com/MrDesjardins/DotNetCircuitBreaker.git git add . git commit -m "first commit" git push -u origin master
Continuous Integration
The next step is to have every time your push new code on GitHub to have this one built and your test ran. The goal is to be sure that what you publish is in a good state. We can also add a step that if everything is fine and that the version of your assembly increase to have a Nuget package generated. You can find all steps in this previous post : Continuous Integration with Travis CI.
Consume
Once the code is published, the last step is to consume your package from your open source. You need to go back to your original project where the code originate. Then, you need to go in reference, and get the Nuget package you published. The code is out of your main repository which allow you to work on it with affecting your main project. People outside your main project can contribute, find issues and fix this open source part. You can yourself use in multiple projects this package, even use it in different company. Finally, you have some exposure about what you can do and save many hours to other people who can benefit of your code.